10 Print-Ready Tips for Designers
At Modern Litho, we understand the life of a designer can be overwhelming. With so much to think about, the final preparation for the printed piece can get lost in the shuffle. So to help keep our designer friends on the straight and narrow, here are 10 helpful tips on how to make your final design files print-ready.
- Keep on Schedule, Timing is Crucial
It’s always a good idea to check with the printer on turn-around times for your job and back your project milestones into that timeline. This will help to keep your project on schedule and allow enough time to build in a barrier in case you need to run your job twice. Not only will this reduce your panic around final crunch time, but will also help you to deliver your files to the client on time and according to specifications. - Embed/Share Your Fonts
The fabulous thing about Adobe InDesign is the pre-flight package option that pulls all these fantastic fonts together for you. The downside is, Adobe Illustrator and other programs don’t or may not have the capability. To avoid design file font issues, embed your fonts directly into the file you are printing by including them into the design package or creating font images in your design document (Adobe Illustrator –> Create Outlines). This will help to prevent font substitutions in your document that will ultimately affect your overall design. - (Print) Size Matters
Designing might be easier when the project is scaled down, but it could cost you big time if you send the small files to your printer. Printing from the scaled artwork could cause blurriness and distortion on your final printout due to the lack of resolution. So when designing, design to the actual size. This will save you time and effort (and maybe even embarrassment) in the long run. - Proof Your Document (More than once!)
You probably have your own story or two about proofing gone wrong. We’ve all been there- an incorrect phone number or web address, or a litany of typos no one seemed to catch. It’s a nightmare that could not only cost your money and your reputation, but your client’s as well. So with that being said, allow plenty of time in your production schedule for proofing on your end as well as the client’s. (Hint: try reading your document backwards. It sounds strange, but it will help you catch any obvious errors!) - Pay Attention to Image Details
You may have an abundance of images in your piece, all sized correctly. But the size isn’t the only thing that matters. With images, it is just as important to pay attention to the proportion and resolution of the images as well as the overall size. To make sure you don’t sacrifice the look of your artwork, make the resolution of your images 300DPI, the highest print resolution used by most print shops. - Be Consistent
One of the biggest components of a successful brand is consistency. The look and feel have to be dead on and, as a designer, this lies heavily in your hands. Your design and artwork need to be consistent in their presentation and style. Watch you margins, your design elements and your imagery. All are part of your client’s brand image. When you proof your document, make sure to check for design consistency as well! - The CMYK Conversion
There is a huge difference between the colors you see on your computer screen and the colors that will print. Every color ever created is a mixture of black, cyan, magenta and yellow, and despite how hi-def your computer screen is, there is no way to identify the subtle nuances in color that could change the whole look of your project. So to save you time (and money), convert your artwork from RGB to CMYK. - The Proof is in the Printed Piece
What better way to ensure the quality of your finished artwork than to print an actual proof. By printing out a hard copy of your design, you will see your design/artwork in a different light. From the proof, you will be able to see how the colors look, explore possible finishing options, identify paper options, and much more. This is also the time to have any printing production questions answered, especially about die cuts and folds. - Mind the Bleed
A bleed is when the document is printed all the way to the edges of the paper. When you set your design files, make sure to add your bleed of .125 or 3mm to ensure proper printing and cutting. - Sharing Files with Your Printer
Although many printers accept a wide range of file formats such as Adobe Illustrator, Adobe InDesign, Photoshop, PDF and Microsoft Word, it is in your best interest as a designer to make sure that your documents are in a file format that is native to your printer’s machine. This can help you save time on your project and help to avoid any costly delays. In addition to saving time, it can also help to save your artwork! Converting non-native files can result in format errors, ultimately affecting your design.
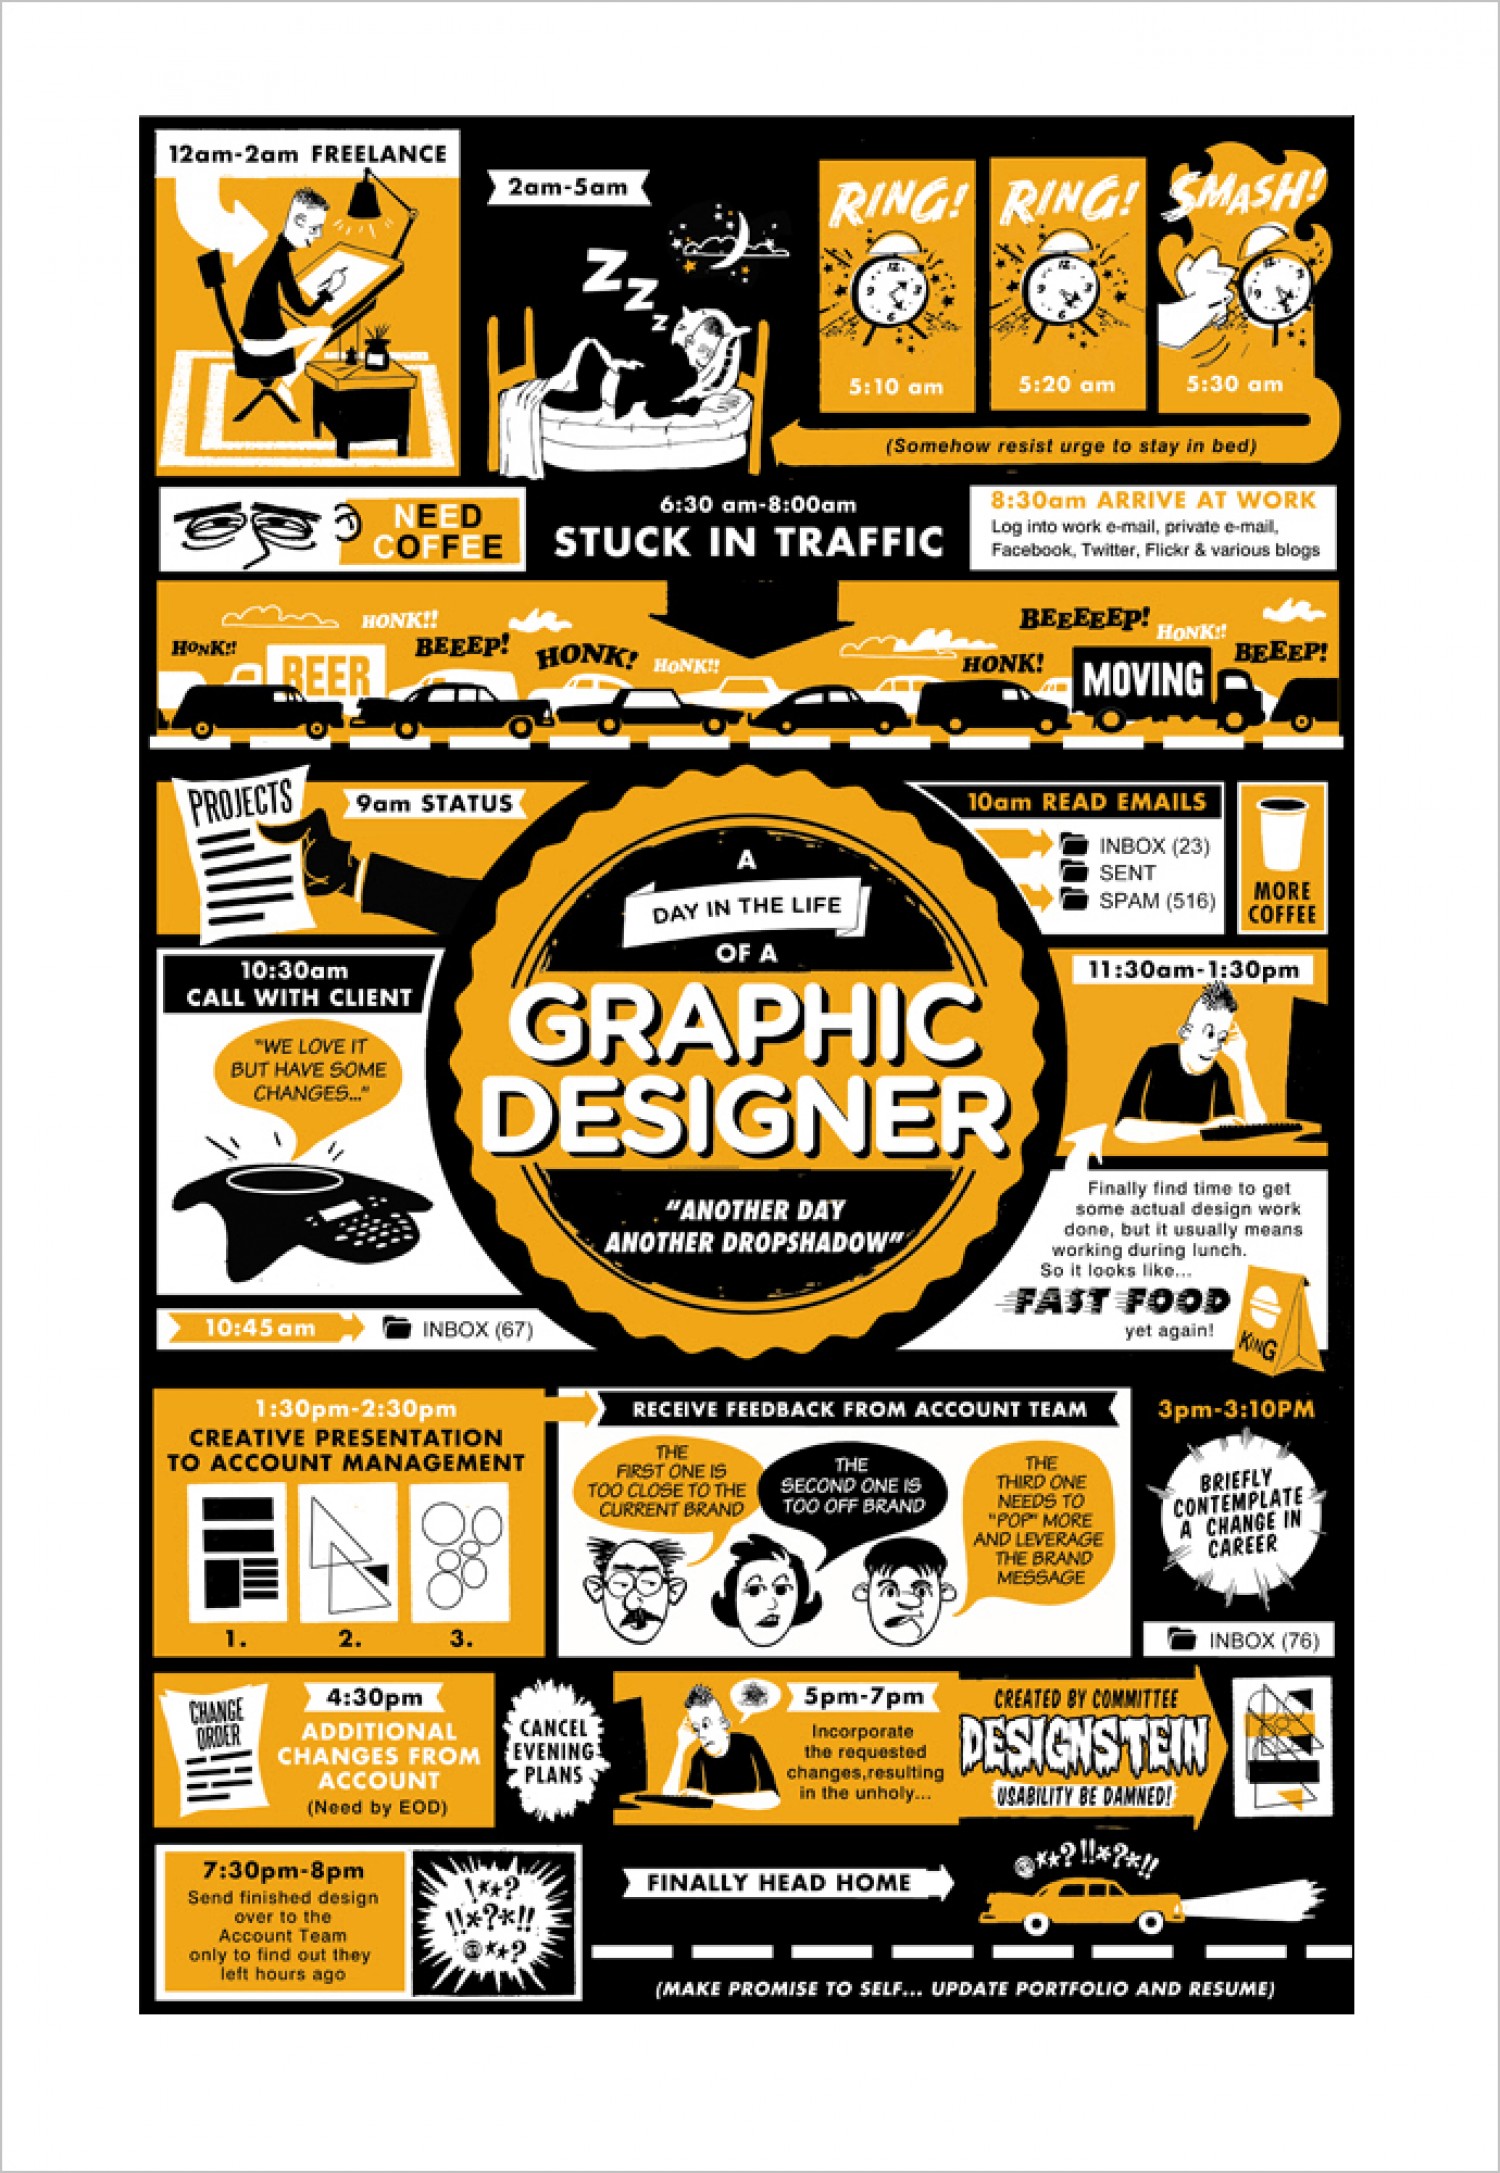
Now that you’re ready to share your print ready files, we thought we’d share with you a day-in-the-life of a graphic designer! Enjoy!
Source: Graphic Design Blender, Visual.ly
